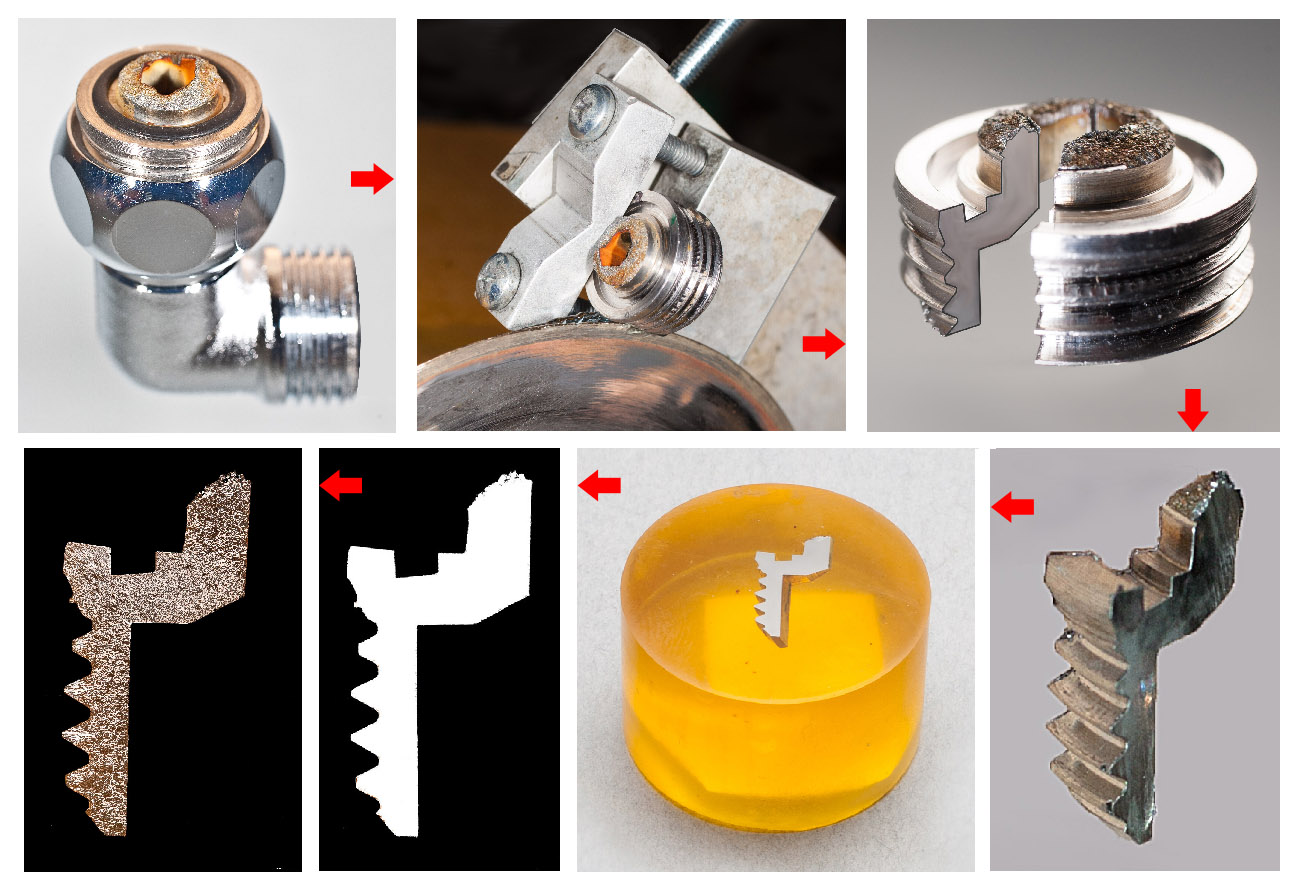
The preparation of metallographic specimens is depicted below. The work piece is cut to fit into a mold into which a self-curing epoxy is poured. When the "puck" hardens it is polished to a mirror finish with successive grinding and polishing media. An etchant is then applied to reveal the microstructure by corroding only layers of atoms, leaving crystallographic planes from which light reflects at different angles, thus revealing the microstructure when observed in an optical microscope. Metallography is an important step in evaluating whether the metal has been affected by heat, corrosion, embrittlement, defective welds, etc. The photos below depict the steps in a typical metallographic process, with examples of microstructures of a variety of metals.
Case Studies
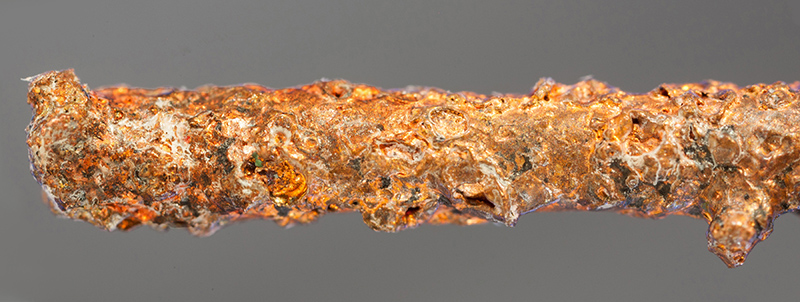
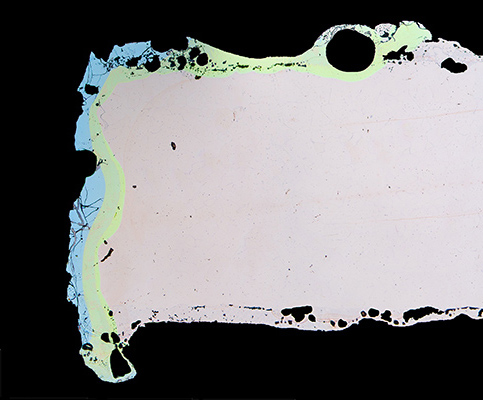
Copper wires recovered from a fire scene may exhibit a wide range of effects depending on exposure time and temperature. The wire at right exhibits blisters with holes from which gases escaped. Although it appears that the wire surface had melted, the metallographic specimens show only gas pocketes and oxide layers. Oxide on the broken end indicates that the wire broke during the fire.
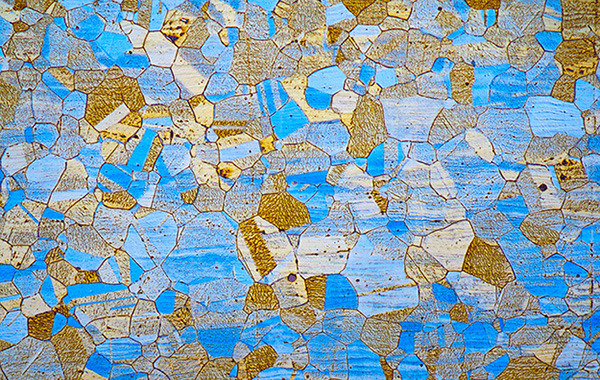
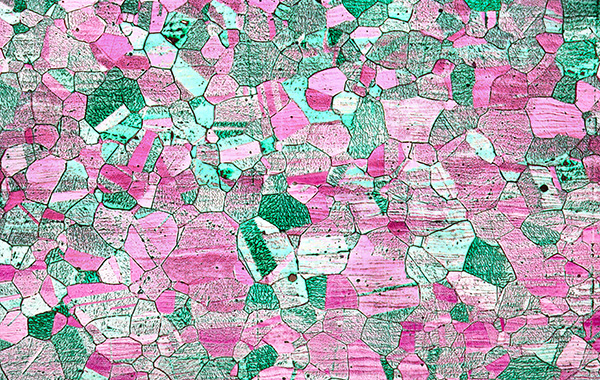
With polarizing filters on optical microscopes, etched metallic microstructures can be revealed in an array of vivid colors. A polarizing filter allows only light of one polarized direction to pass. A single such filter on sunglasses can reduce superficial reflections and increase useful contrast. A more elaborate system known as "sensitive tint," illustrated in the samples below, intenisfies color contrast in metallurgical specimens.
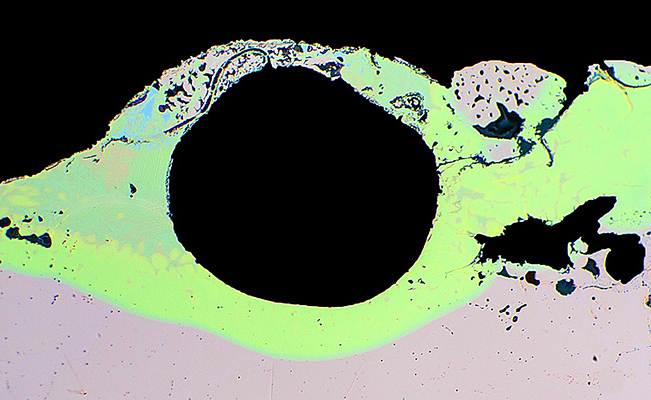
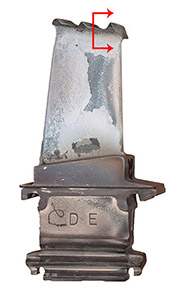
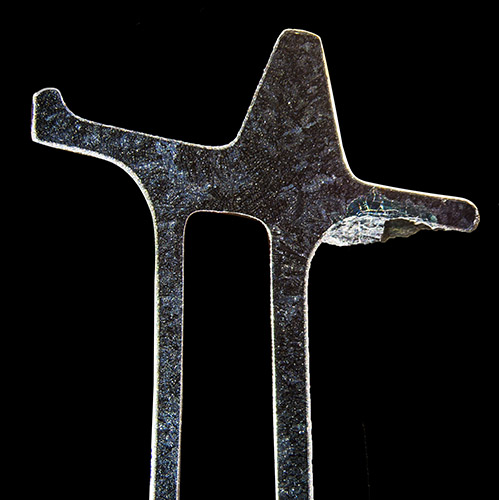
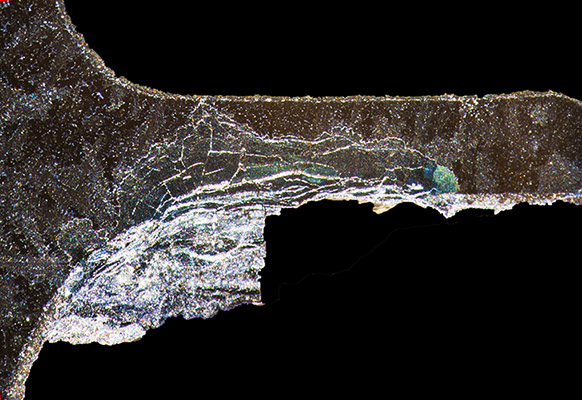
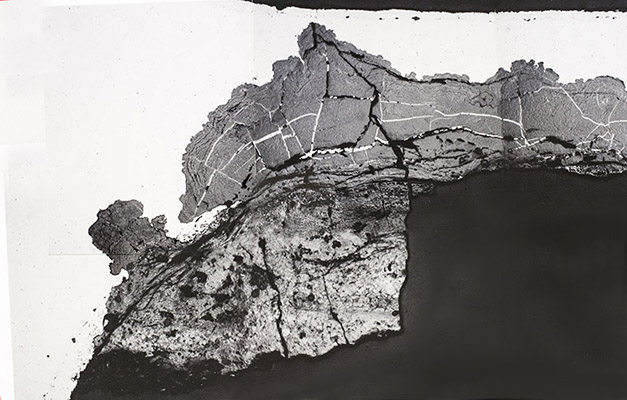
Certain gases within a turbine engine, such as soldium sulfate (Na2SO4), can induce hot corrosion in the temperature range of 1200ºF to 1560ºF. This turbine blade exhibits a buildup of colorful corrosion products on the underside of the shroud. The metallographic cross section shows a layered corrosion product with veins of sulfide characterisitc of hot corrosion.
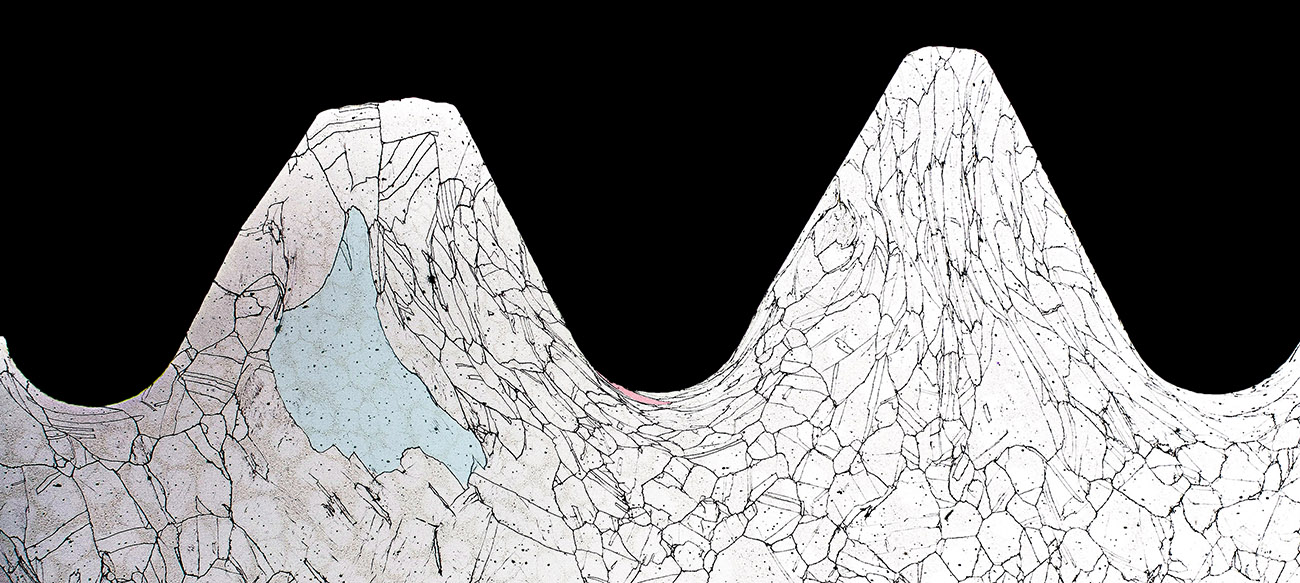
Elongated grains, shaded in red, indicate that the threads were rolled rather than machined.
For ductile metals, rolled threads impart greater mechanical properties.
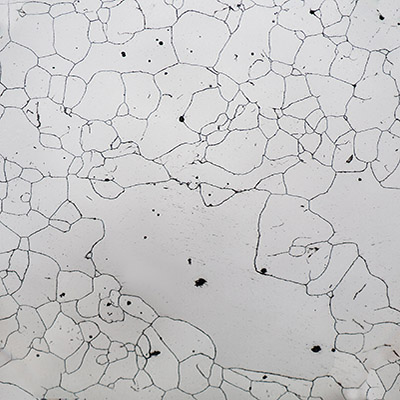
This specimen exhibits abnormally large grains, one of which is shaded in blue.
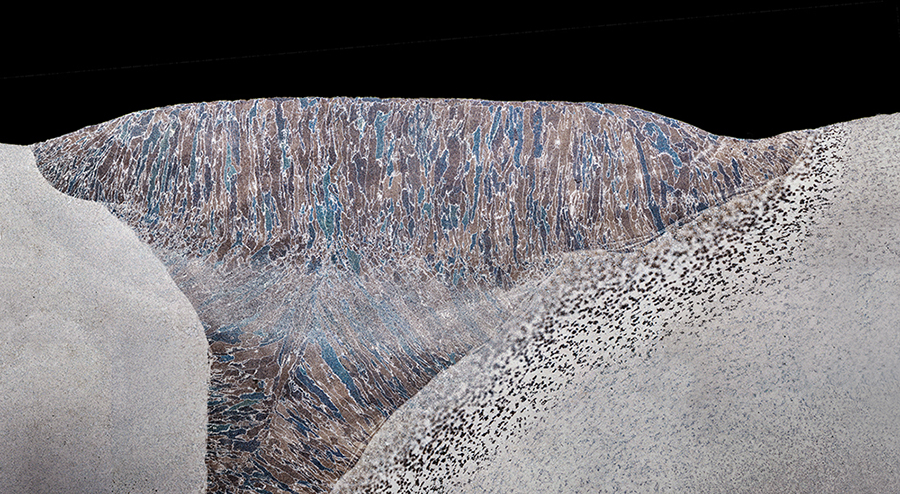
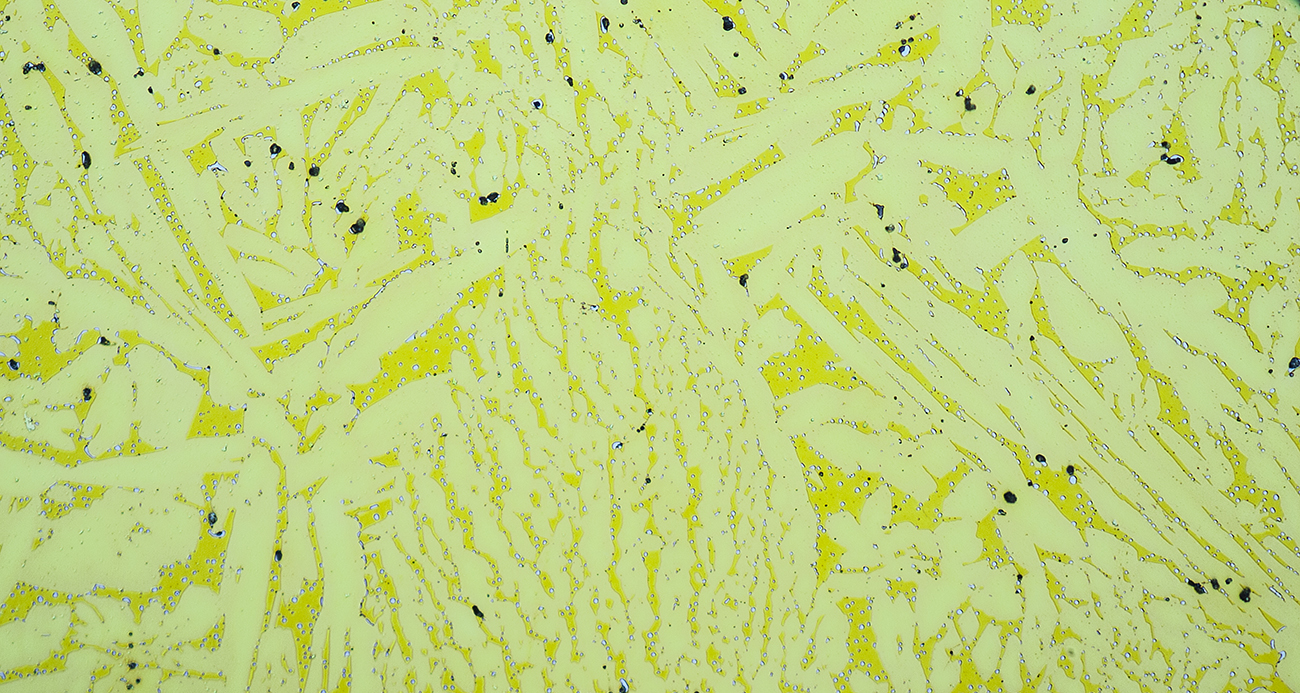
Two-phase free-machining brass microstructures consist of a beta matrix (darker yellow) and aplha plates (lighter yellow). This particular brass contains discrete particles of bismuth, the light-gray, finely distributed "dots". Bismuth is a replacement for toxic lead in free-machining brass.
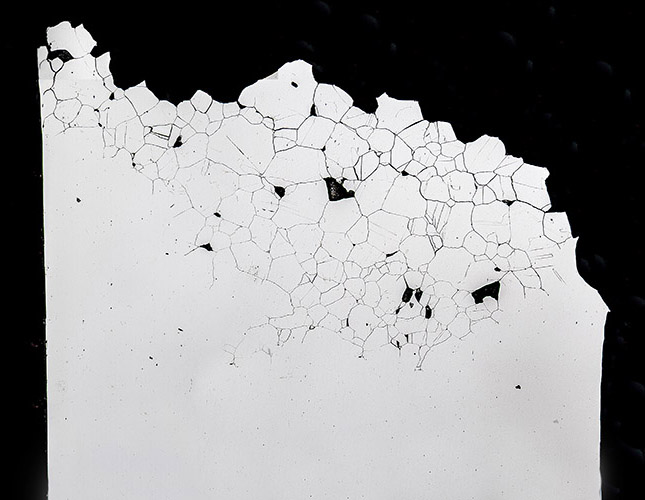
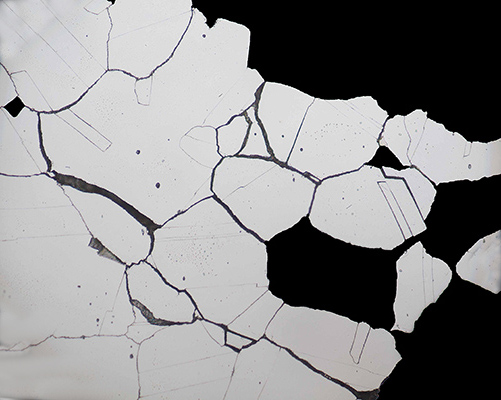
Grain decohesion, something metallurgists go to pieces over, is evident at the fracture surface of this stainless steel fitting. This condition resulted from prolonged exposure to heat during processing.
The degree of decohesion is demonstrated by the voids (dark areas) left by grains that were pulled out by friction during polishing.
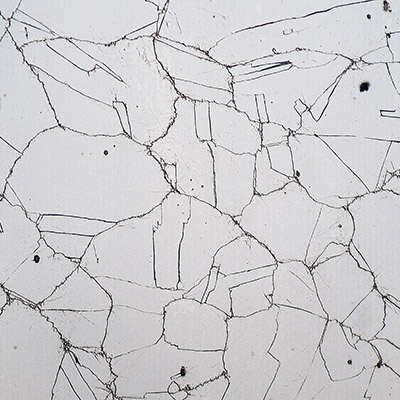
Cold worked stainless steels are heat treated to obtain the desired mechanical properties, which are directly related to grain size. The microstructure at left is normal, consisting of equiaxed grains and annealing twins. The microstructure at right (in the same specimen) is abnormal, as evidenced by excessively large grains intermingled with fine recrystallized grains. This condition resulted from prolonged exposure to heat.
Berkeley Research Company © 2014
website designed by Lisa Fulton
